Run Hugo Blog on uberspace
Back in 2019, I wrote an article on how to run a hugo blog on uberspace (🇩🇪). The magic is not to bring the static files on a webhoster, that’s easy, but that uberspace allows building and publishing the blog for you on your domain. Like GitHub or Netlify, but with a small German hoster.
I use this setup ever since. Although I struggle every now and then.
Robert reached out, because he was facing error messages when trying to implement the same. I couldn’t help him directly, because that article is five years old and I was not sure if things have changed in the meantime.
Luckily, the holidays came with a bit of spare time to test this myself and to provide an updated version.
I was very careful to collect all commands I sent to the terminal and am thus very sure that this works on an U7 uberspace.
Prepare your machine
You need to have the git and hugo available on your machine. Please follow their installation guides.
You also need access to a terminal. That’s standard if you’re on Linux or Mac. You may want to checkout Putty if you’re using Windows.
Create a new asteroid
Now let’s create a new asteroid (= account) on uberspace. Surf to https://dashboard.uberspace.de/register and fill out the form. It has 3 fields. Should take less than a minute.
Let me say it again: I am super happy with uberspace as a hoster. They provide all you need, have a great service and company values. If you don’t know them yet, check out their about-us page.
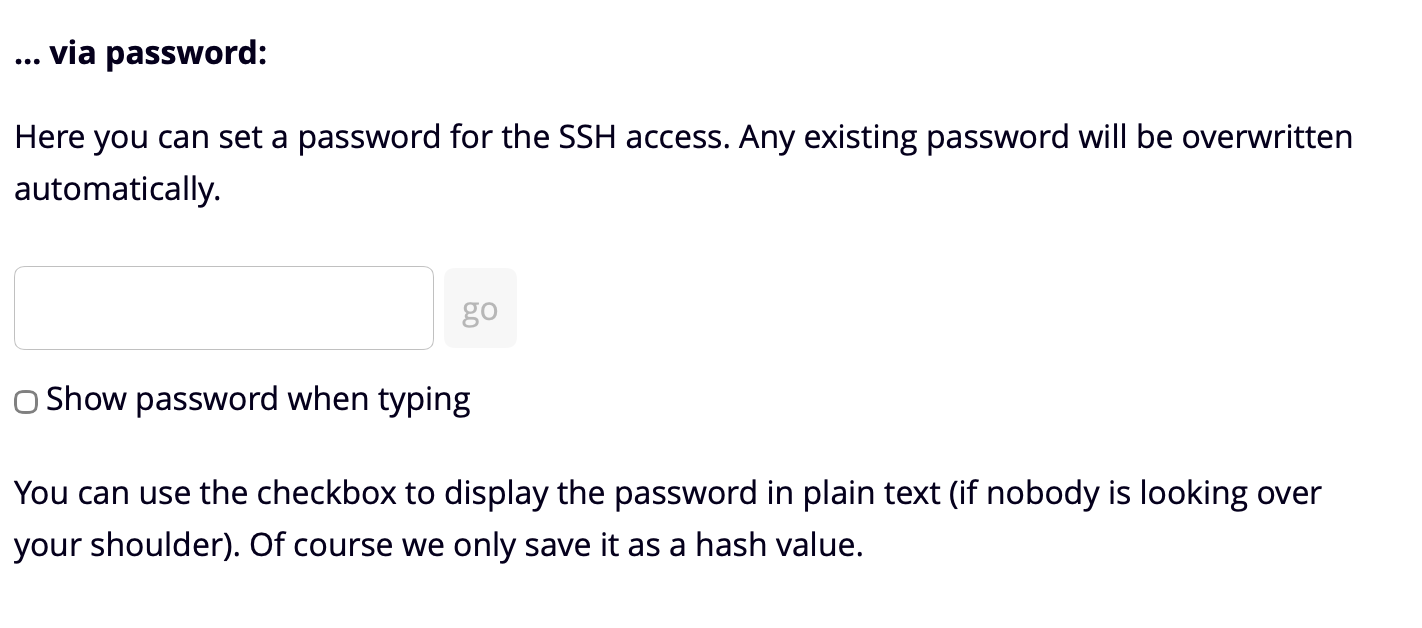
Once the account is created, nagivate to Dashboard –> Login and set a new password for the SSH access.
Remember the host name on which your asteroid is created. You can find that in the email they write you, or on the Datasheet.
The nerdy stuff
So far, so fancy. From now on, no more UI, but terminal commands only.
First, we connect to your new Asteroid using SSH. Please replace batman with your user name and helium with your host name. You need the SSH password you defined in the previous step to log in.
ssh batman@helium.uberspace.de
Next, we install Hugo. We download the latest release. Check GitHub and replace the url in the wget if necessary.
Wondering what the commands do? wget will download the compressed hugo release, tar will unzip it, mv moves the extracted directory, and rm deletes the file we downloaded.
cd ~

wget https://github.com/gohugoio/hugo/releases/download/v0.154.4/hugo_0.154.4_Linux-64bit.tar.gz

tar -xvf hugo_0.154.4_Linux-64bit.tar.gz hugo

mv hugo ~/bin

rm hugo_0.154.4_Linux-64bit.tar.gz
With mkdir we create a directory that holds our repository. This is where we will push to. Within the folder, we initialize an empty repository (--bare) and create the main branch.
cd ~

mkdir batblog.git

cd batblog.git

git init --bare

git branch -m main
Brace yourself, because now we add the magic 🧚
We tell git to run a few commands every time an update is made on the repository, e.g. when we push a commit holding a new blog post. This is done by changing the content of the post-update hook.
Run these commands to open the file in the nano editor
cd ~/batblog.git

nano hooks/post-update
Copy the following script into the file, change GIT_REPO to match your repository.
What the script does:
- define path to the repository we created before (
GIT_REPO) - define path to a temporary directory to clone into (
TMP_GIT) - define path to your public folder, where the built blog shall be moved to (
PUBLIC_WWW) - clone the repository to the temporary folder
- change into that temporary folder
- build the blog and move the output to the public folder
- delete the temporary folder
#!/bin/sh

echo "Start hook magic"

# path to repository
GIT_REPO=$HOME/batblog.git

# path to tmp
TMP_GIT_CLONE=$(mktemp -d)

# path to publich URL
PUBLIC_WWW=/var/www/virtual/$USER/html

# clone repository
git clone $GIT_REPO $TMP_GIT_CLONE
cd $TMP_GIT_CLONE

# build
~/bin/hugo --cleanDestinationDir --destination $PUBLIC_WWW

# clean
rm -Rf $TMP_GIT_CLONE
Save the changes with control + o and exit the editor with control + x.
It’s important to run one more command, letting the machine know that this script is executable.
cd ~/batblog.git

chmod +x hooks/post-update
We’re done on the server. The rest happens on your local machine.
Create and publish your blog
On your machine, we clone the repository that we created on uberspace.
Adjust the path to your needs, by replacing batman with your user name, helium with your host name, and batblog.git with whatever you called the repository. You need the SSH password that you defined above.
git clone ssh://batman@helium.uberspace.de/home/batman/batblog.git
This will create a directory called batblog. We open this directory, create a new blog in there, commit the changes and push them to the server.
cd batblog

hugo new site . --force

git add .
git commit -m "initial"
git push origin main
Wait a few seconds and then open your uberspace URL. If you want to make your blog available at your own domain - you just need to add the domain to your uberspace and adjust the DNS records (A, AAAA). A guide how to do this is here: https://manual.uberspace.de/web-domains/
Enjoy your new blog 👏
This week I wanted to tinker on the blog machinery. Scheduled posts have been on the agenda for a while - not because it’s complicated, but because I barely needed it.
With the above setup, this is very simple. Add one row to the crontab.
Assuming you‘re logged in the server (ssh batman@helium.uberspace.de), run
crontab -e
And in the editor, add
@hourly /home/batman/batblog.git/hooks/post-update
Save the changes with control + o and exit the editor with control + x.
This will run the script on an hourly basis and publish scheduled jobs the latest 60min after the planned release.